Why Clean Car Glass Matters

Clean Glass: Why Is It Important?

Regular glass care plays an important role in driving comfort and road safety. Car windows are exposed daily to dust, road grime, grease, condensation, and fingerprints. The inside of the glass can also accumulate residue from air conditioning systems and the stubborn, oily film produced by e-cigarettes, including deposits containing glycerin and propylene glycol. For clear visibility and a streak-free finish, choose products that combine effective cleaning with surface compatibility.

1. How to Use Glass Cleaner Correctly: A Step-by-Step Guide

For fast, effective cleaning with minimal streaking, follow these steps:

  • Clean the top edges: Lower the window by approximately 2–3 cm. Apply a small amount of glass cleaner to a microfiber cloth, fold it over the top edge, and wipe along the entire edge to remove dirt from both sides. Dry the area before closing the window.
  • Apply the cleaner: Spray the product directly onto the glass or onto a clean, dry microfiber cloth. Applying it to the cloth can help prevent overspray onto dashboard materials and other interior surfaces.
  • Spread the product: Use a waffle-weave microfiber cloth and wipe in straight, overlapping strokes to cover the entire surface evenly.
  • Buff to a clear finish: Turn the cloth to a clean, dry side or use a second dry glass cloth. Buff the glass until it is clear and streak-free.

2. Why Use a Waffle-Weave Microfiber Cloth?

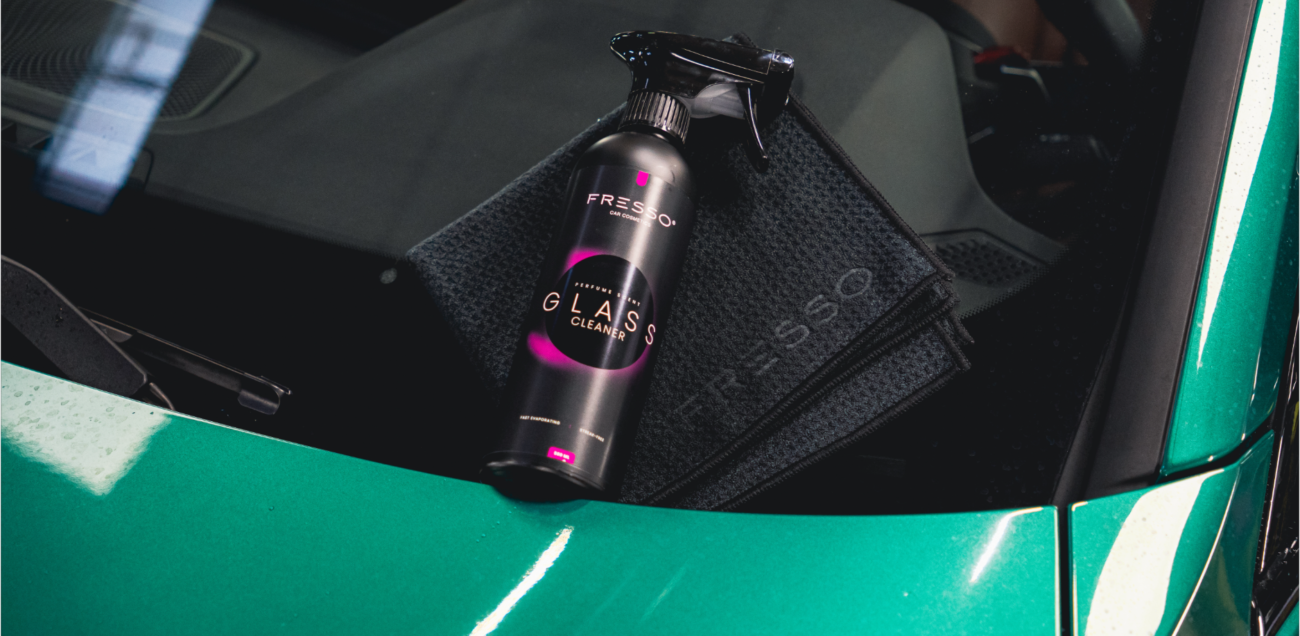
The right cloth is just as important as the cleaning product. A waffle-weave microfiber cloth, such as Fresso Winston, is designed for cleaning glass and helps achieve a clear finish.

  • Its textured weave helps lift dirt and absorb excess product.
  • It helps reduce smearing when used with the correct amount of cleaner.
  • It can leave fewer loose fibres than some ordinary cloths when properly maintained.
  • Its absorbent texture makes it easier to buff glass quickly and effectively.

3. Nitrile Gloves: A Small Detail That Makes a Difference

Nitrile gloves can help maintain a clean finish during interior detailing. The natural oils on your hands can leave fingerprints on freshly cleaned glass, which may become particularly noticeable in direct sunlight or when driving at night. Wearing gloves helps reduce accidental fingerprints and provides a barrier between your skin and cleaning products. Always follow the product label and use appropriate protective equipment.

4. What Makes Fresso Glass Cleaner Stand Out?

Fresso Glass Cleaner is a ready-to-use glass-cleaning product designed for vehicle care. Its key benefits include:

  • Effective degreasing: Helps remove greasy films, fingerprints, and everyday dirt, including oily residue from e-cigarette vapour.
  • Streak-free finish: When used correctly with a suitable microfiber cloth, it helps leave glass clear and free from visible smears.
  • Fast drying: Its quick-drying formula helps make the cleaning process more efficient.
  • Pleasant fragrance: Offers a more pleasant cleaning experience than products with a strong technical odour.
  • Ammonia-free formula: A suitable option for those who prefer a glass cleaner formulated without ammonia. Always check the product label for compatibility with tinted glass and other sensitive surfaces.

5. Why Choose an Ammonia-Free Glass Cleaner?

Choosing an ammonia-free glass cleaner can be a sensible option, particularly when cleaning vehicle interiors or working around sensitive materials. There are several reasons to consider the formula before use:

  • Comfort during use: Ammonia vapour can irritate the eyes, skin, throat, and respiratory system. Use cleaning products in a well-ventilated area and follow the instructions on the label.
  • Safe chemical handling: Never mix cleaning products. Ammonia-containing products can react with bleach containing sodium hypochlorite and release toxic gases.
  • Compatibility with vehicle materials: Some cleaners may damage or discolour sensitive materials if used incorrectly. Check compatibility before applying a product to vinyl, leather, rubber seals, or other interior surfaces.
  • Window tint protection: Certain ammonia-based cleaners may be unsuitable for some aftermarket window films. Check the tint manufacturer’s guidance and choose a compatible cleaner.

6. Important Tips for the Best Results

  • Clean the glass when it is cool, preferably in a shaded area.
  • Avoid cleaning hot glass or working in direct sunlight, as rapid evaporation can increase the risk of streaking.
  • Use a clean microfiber cloth and turn it to a dry side when buffing.
  • Drying time can vary with temperature, humidity, and the amount of product applied.
  • Store the cleaner according to the manufacturer’s instructions, away from direct sunlight and extreme temperatures. Follow the minimum storage temperature stated on the product label.

Summary: Clear Glass for Safer Driving

Clean car glass is about more than appearance: it is essential for good visibility and comfortable driving. Regular cleaning with a suitable product, such as Fresso Glass Cleaner, and a quality waffle-weave microfiber cloth helps remove dirt and greasy residue while reducing streaks. For the best results, use the product as directed, choose materials compatible with your vehicle, and keep all windows clean inside and out.

Hand Washing Your Car: Shampoo, Mitts & the Two-Bucket Method

Hand washing is one of the most important stages of safe and effective car care. While a touchless pre-wash removes loose dirt, hand washing helps eliminate the remaining road film, dust, grease and other contaminants.

Using the right car shampoo and a soft wash mitt helps clean the paintwork while reducing the risk of fine scratches. It also prepares the surface for the next detailing stages, such as applying wax, sealant or a quick detailer.

1. Hand Washing – What Is It and Why Is It Worth It?

Hand washing, also known as the main wash, is the stage that follows the pre-wash in a complete car cleaning routine.

During the pre-wash, active foam or a dedicated pre-cleaner, such as FRESSO TFR, helps loosen and remove sand and loose dirt without physically touching the paintwork. After rinsing, hand washing removes the remaining contamination using car shampoo and a suitable wash mitt.

This process also helps clean details, creases, door jambs, sills and other areas that may be missed during a touchless wash. A properly washed surface is then ready for drying and further paint protection.

2. Why Is Hand Washing So Important?

  • Removes remaining road film, dust, grease and everyday contamination.
  • Helps clean hard-to-reach areas, including door jambs, sills and trim.
  • Prepares the paintwork for waxes, sealants and other protective products.
  • Reduces the risk of micro-scratches when performed with the correct technique.
  • Helps achieve a clean, smooth and glossy finish.

3. The Two-Bucket Method – A Safer Washing Technique

The Two-Bucket Method is a popular technique used to reduce the amount of dirt transferred back onto the paintwork during washing.

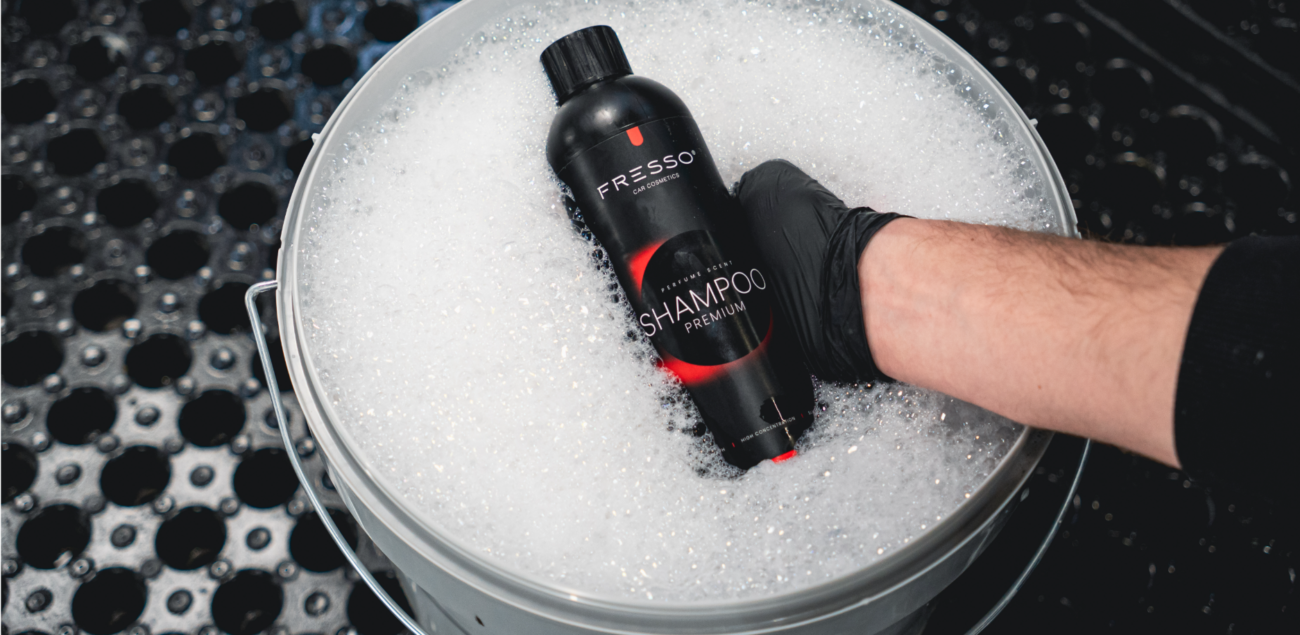
  • Bucket 1: Water mixed with FRESSO Shampoo Premium.
  • Bucket 2: Clean rinse water for the wash mitt.

After washing each section of the vehicle, rinse the mitt in the clean-water bucket before loading it with shampoo again. This helps release dirt from the mitt and reduces the chance of dragging abrasive particles across the paintwork.

For additional protection, consider using grit guards in both buckets to help keep dirt settled at the bottom.

4. What Do You Need for Hand Washing?

  • FRESSO Shampoo Premium – A car shampoo designed to clean the paintwork.
  • Cody Wash Mitt – A soft, absorbent mitt for contact washing.
  • Two wash buckets – Approximately 10 litres each, ideally with grit guards.
  • Microfibre drying towels:
    • Ashton Plus
    • Ashton Twisted Pile
    • Zack

5. How to Prepare the Shampoo Solution

Recommended dilution: Use 35 ml of Shampoo Premium per 10 litres of water, following the product label instructions.

  1. Fill the wash bucket with approximately 8 litres of water.
  2. Add 35 ml of shampoo.
  3. Add more water to reach the desired volume. A gentle stream of water can help mix the solution.

A suitable shampoo solution provides lubrication between the wash mitt and the paintwork. This helps the mitt glide across the surface and makes it easier to lift and rinse away dirt.

6. Step-by-Step Guide to Proper Hand Washing

  1. Complete the pre-wash. Loosen and rinse away as much loose dirt as possible before touching the paintwork.
  2. Prepare your buckets. Mix the shampoo according to the product instructions and fill the second bucket with clean rinse water.
  3. Wash from top to bottom. Start with the roof and windows, then move to the bonnet, doors and lower bodywork.
  4. Use straight, gentle movements. Avoid unnecessary pressure and do not scrub dirt into the paintwork.
  5. Rinse the mitt frequently. After each panel, rinse the mitt in the clean-water bucket before returning it to the shampoo.
  6. Rinse the vehicle thoroughly. Remove all remaining shampoo with clean water.
  7. Dry the paintwork. Use a clean microfibre drying towel with gentle movements to minimise friction.

Pro tip: Work in manageable sections and avoid allowing shampoo to dry on the paintwork. If the surface begins to dry, rinse it before continuing.

7. Important Tips for Safer Car Washing

  • Avoid direct sunlight and hot paintwork. Shampoo and water can dry too quickly, increasing the risk of streaks and water spots.
  • Use dedicated car-washing accessories. Avoid rough household sponges and dirty or damaged mitts.
  • Never skip the pre-wash. Removing loose dirt first helps reduce the risk of scratching during contact washing.
  • Keep your equipment clean. Rinse the mitt regularly and use clean drying towels.
  • Check product compatibility. Follow the shampoo manufacturer’s instructions, especially when washing vehicles with waxes or protective coatings.

8. Why Choose FRESSO Shampoo Premium?

When selecting a car shampoo, look for a formula that suits your vehicle’s finish and the type of protection applied to the paintwork.

  • Cleaning performance: Helps remove everyday dirt during the contact wash.
  • Lubrication: Helps the wash mitt move smoothly across the surface.
  • Concentrated formula: Follow the recommended dilution to get the most from the product.
  • Easy rinsing: Thorough rinsing helps leave the surface clean and ready for drying.

Always check the manufacturer’s product information for the latest dilution instructions and compatibility guidance.

9. Frequently Asked Questions

Why should you wash a car from top to bottom?

The lower sections of a vehicle usually collect more road dirt than the upper panels. Starting at the top helps reduce the risk of transferring heavier contamination to cleaner areas.

Why use grit guards in wash buckets?

Grit guards help keep some dirt and debris at the bottom of the bucket, reducing the chance of picking it up again with the wash mitt.

Is the two-bucket method necessary?

It is not the only safe washing method, but separating the shampoo solution from the rinse water can help reduce dirt transfer during contact washing.

Can I wash my car in direct sunlight?

It is better to wash in a shaded area on cool panels. This helps prevent shampoo and water from drying too quickly and leaving marks.

10. Final Thoughts

Hand washing is an essential part of a careful car detailing routine. Combining a thorough pre-wash, a suitable car shampoo, a soft wash mitt and the two-bucket method helps remove remaining dirt while reducing the risk of fine scratches.

With the right technique and clean equipment, you can achieve a cleaner, glossier finish at home and prepare your vehicle for the next stage of detailing.

Ready to upgrade your car care routine? Explore the AUTOFUM collection to discover car shampoos, wash mitts and detailing essentials.

Detailing for Beginners – The Starter Kit You Should Begin With

Detailing for Beginners – The Starter Kit You Should Start With

If you’re just starting your detailing journey, it’s easy to get overwhelmed by the huge range of car care products and accessories available. The good news is that six essential products and a few accessories are enough to get started. With the right kit, you can wash your car, clean your wheels, protect your paintwork and keep the interior looking its best.

Below, you’ll find a simple starter kit and the recommended order of steps to follow every time you wash your car.

Step 1. Pre-Wash – The Most Important Stage

Every proper car wash should begin with a pre-wash to remove loose dirt and grime from the bodywork. This step helps reduce the risk of swirl marks and fine scratches during the contact wash.

The best products for this stage include:

  • Active Foam
  • Alkaline TFR (Traffic Film Remover)

Which Should You Choose?

Active Foam is generally gentler on surfaces and clings to the paintwork for longer. It is particularly useful in spring and summer, when temperatures are higher and dirt is not too heavy.

Alkaline TFR provides stronger cleaning power and is more effective at removing stubborn road grime. When used at the correct dilution and according to the manufacturer’s instructions, it can be suitable for automotive paintwork.

Safe Application Tips

  • Never apply products to hot surfaces.
  • Do not allow the product to dry on the paintwork.
  • Always follow the manufacturer’s recommended dilution ratio.

Active Foam Dilution

  • Heavy dirt: 1:10–1:15
  • Moderate dirt: 1:15–1:30
  • Light dirt: 1:30–1:50

Alkaline TFR Dilution

  • Heavy dirt: 1:5–1:10
  • Moderate dirt: 1:10–1:15
  • Light dirt: 1:15–1:20

Apply the product from the bottom upwards, leave it to work for 2–5 minutes (or as directed on the label), and rinse thoroughly with a pressure washer. Never allow it to dry on the surface.

Step 2. Hand Wash with a pH-Neutral Shampoo

After the pre-wash, it’s time for the contact wash. A pH-neutral car shampoo is a great choice because it helps clean the paintwork without unnecessarily affecting existing waxes or protective coatings when used as directed.

For 10 litres of water, approximately 35 ml of shampoo may be sufficient, depending on the product’s instructions.

The Two-Bucket Method

The two-bucket method is one of the best ways to reduce the risk of scratching your paintwork.

You’ll need:

  • One bucket containing your shampoo solution.
  • One bucket containing clean rinse water.

Dip your wash mitt into the shampoo solution and wash the car from top to bottom using gentle, straight-line movements. After cleaning each section, rinse the mitt in the clean-water bucket before returning it to the shampoo.

This helps prevent dirt from being transferred back onto the paintwork.

Step 3. Wheel Cleaning

Wheels often accumulate some of the heaviest dirt on a car, so they should be cleaned separately.

A dedicated Wheel Cleaner is ideal for this task.

How to use it:

  1. Apply the product to the wheel according to the label instructions.
  2. Allow it to dwell for the recommended time.
  3. Agitate the surface with a suitable wheel brush or detailing brush.
  4. Rinse thoroughly with a pressure washer.

Always use products suitable for your wheel finish and never let them dry on the surface.

Step 4. Drying Your Car

Once washing is complete, dry the car thoroughly to minimise water spots.

A dedicated microfibre drying towel is ideal for this job.

Work from top to bottom, using gentle movements. Pay attention to lower body panels and avoid dragging the towel over the ground, as this can pick up abrasive dirt.

Step 5. Protecting the Paintwork

Once the car is clean and dry, consider protecting the paintwork with a product such as Ceramic Detailer 2.0, provided it is suitable for your vehicle’s finish.

A suitable ceramic detailer can help leave the paintwork:

  • Smoother to the touch.
  • Glossy and visually enhanced.
  • Hydrophobic, helping water bead and run off.

Depending on the product, protection may also make future washes easier by helping dirt release more readily.

How to Apply It

Apply to a clean, dry surface unless the product label specifies otherwise.

  1. Spray 2–3 times onto a microfibre cloth, adjusting the amount to the panel size.
  2. Spread the product evenly over one panel at a time.
  3. Buff with a clean side of the cloth or a second microfibre until the finish is clear and streak-free.

Always follow the manufacturer’s instructions for application and curing.

Interior Care

Before cleaning the interior, thoroughly vacuum the seats, carpets and other accessible areas.

For basic interior maintenance, two products are a great starting point:

  • Interior Cleaner
  • Glass Cleaner

Cleaning Interior Plastics

For larger surfaces, apply Interior Cleaner to a suitable scrub pad or microfibre rather than spraying excessively onto the dashboard or sensitive controls. Gently agitate the surface and wipe away residue with a clean, dry microfibre.

For air vents, seams and hard-to-reach areas, a detailing brush can help loosen dust and dirt.

Always test the product on an inconspicuous area first.

Cleaning the Windows

Finish by cleaning the interior and exterior glass.

  1. Apply Glass Cleaner to a dedicated waffle-weave microfibre.
  2. Clean the glass thoroughly.
  3. Buff with a second clean, dry microfibre to minimise streaks.

Using separate cloths for cleaning and buffing helps achieve a clearer finish.

The Essential Car Care Kit for Beginners

If you’re building your first detailing kit, start with these six products:

  1. Alkaline TFR or Active Foam
  2. pH-Neutral Shampoo (Shampoo Premium)
  3. Wheel Cleaner
  4. Ceramic Detailer 2.0
  5. Interior Cleaner
  6. Glass Cleaner

Essential Detailing Accessories

Pair your products with a few quality accessories:

  1. Cody Wash Mitt
  2. A Drying Towel – Ashton Plus Drying Towel, Ashton Drying Towel or ZACK
  3. Wheel Brush
  4. Aurora Microfibre Cloths for applying Ceramic Detailer
  5. Agnes Microfibre Cloth for interior cleaning
  6. Waffle-Weave Microfibre for glass
  7. Scrub Pad
  8. Detailing Brush Set

Final Thoughts

You don’t need a professional detailing studio or dozens of products to get started. Six essential car care products and a few well-chosen accessories are enough to wash your car safely, clean the wheels, protect the paintwork and maintain the interior.

The key is following the correct order:

Pre-wash → Hand wash → Wheels → Drying → Paint protection → Interior care

Follow these basic principles and you’ll notice a difference in your car’s appearance from the very first wash. Regular maintenance will also make future cleaning easier and more enjoyable.

FAQ – Frequently Asked Questions

Is car detailing difficult for beginners?

No. Basic car detailing can be done at home, even without previous experience. Follow the correct order of steps and use products designed for automotive surfaces.

Which is more important: active foam or shampoo?

Both serve different purposes. Active Foam or TFR is used during the pre-wash to loosen dirt before touching the paintwork. Shampoo is used during the contact wash to clean the surface more thoroughly.

Can I wash my car using just one bucket?

You can, but the two-bucket method is generally preferable. It helps reduce the chance of transferring abrasive dirt back onto the paintwork and causing scratches.

How often should I use Ceramic Detailer?

This depends on the product, driving conditions and how the vehicle is maintained. Follow the manufacturer’s guidance for durability and reapplication. Regular use of a suitable detailer can help maintain gloss and water repellency.

Is Alkaline TFR safe for car paint?

It can be suitable when used at the correct dilution and according to the manufacturer’s instructions. Work on cool surfaces, avoid allowing the product to dry, and check compatibility with waxes, coatings and trim.

Which microfibre cloths should I buy first?

Start with three types: a general-purpose microfibre for paintwork, a separate cloth for interior surfaces and a waffle-weave cloth for glass. Keeping them separate helps prevent dirt and residue from being transferred between surfaces.

Can I use the same wash mitt on the wheels and paintwork?

No. Wheels can collect brake dust and abrasive road grime that may scratch paintwork. Use a separate wheel brush, mitt or detailing tool exclusively for the wheels.

0
Back to Top
Product has been added to your cart